You’ve been diagnosed with Sleep Apnea, ordered your CPAP supplies, and now you’re wondering where to start. We will help you. We will show you how to use CPAP machines and equipment.
These general instructions will guide you through setting up and using CPAP machines We’ll also send CPAP therapy advice so you can acclimatise fast when your machine arrives.
CPAP Filter Setup
First, check your CPAP filters. Foam, paper, or bacterium filters? CPAP air intakes have reusable foam filters. If you’re also using a disposable filter, place the paper filter inside the machine first.
Bacteria filter is difficult. If you use a humidifier, install this filter on the humidifier’s air intake instead of your CPAP. If you don’t use a humidifier, the bacteria filter is at the CPAP’s air intake. Once it’s in place, attach your CPAP hose. Learn more about CPAP’s air intake.
Attach a heated tube and bacteria filter between the hose and mask.
CPAP Mask and Hose Attachment
Attach your hose to your CPAP or humidifier’s air outlet, depending on your treatment. Check if your hose is standard or slender if you have problems.
Your CPAP machine must have a setting to accommodate 15mm hoses. Some small CPAP machines need a hose adapter for the 22mm hose cuff.
Most CPAP hoses feature a 22mm connector cuff that fits all CPAP masks. The AirMini requires a unique elbow and tubing to connect to ResMed masks. If you have difficulties connecting, check to be sure your mask doesn’t have a swivel.
If your hard-cuffed hose connection isn’t tight, try a flexi-tube adaptor.
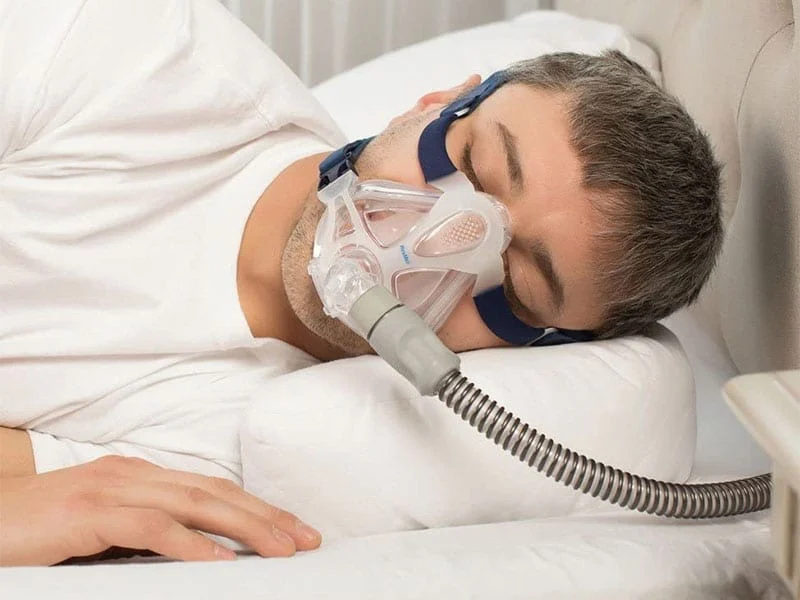
Wearing your CPAP mask properly
Hopefully, when ordering your mask, you consulted the measuring chart to select the right size and form for your face and your sleep position. Even with these methods, you may need to make minor modifications to your CPAP mask.
Sit on the bed’s edge to begin. Put the mask on loosely. Then lie down as if to sleep. Pull the straps evenly on both sides until comfortable – not too tight! After setting up your equipment, check for leaks and make adjustments.
Consider a CPAP pillow. Some CPAP masks are bulky, making it difficult to sleep in a favorite position. CPAP pillows solve this issue.
These pillows include cutouts for masks. This makes it less likely that the cushion will break the seal.
Consider a CPAP mask with a clear view.
Full face, nasal pillow, and nasal CPAP masks with wide viewing angles make reading, watching TV, or texting simple. There’s a mask with an unobstructed field of vision for every style.
Anyone who’s attempted to be productive wearing a cumbersome mask before night knows how hard that is. Before starting CPAP, get a low-profile mask. Example:
Before using a CPAP mask, wash your face.
This reduces silicone wear and improves mask seal. Faces that have been washed are less greasy and make a better mask seal. Unwashed faces have a thin layer of oils that make CPAP mask sealing problematic.
Setting CPAP Pressure
Your new CPAP machine will ship with the correct pressure, as prescribed. So, when the machine arrives at your house, it will already have the correct pressure setting.
Your doctor will calculate the optimum CPAP pressure during your sleep study. Adjusting your pressure without visiting your doctor is not recommended. Without the right treatment, your therapy may be less effective.
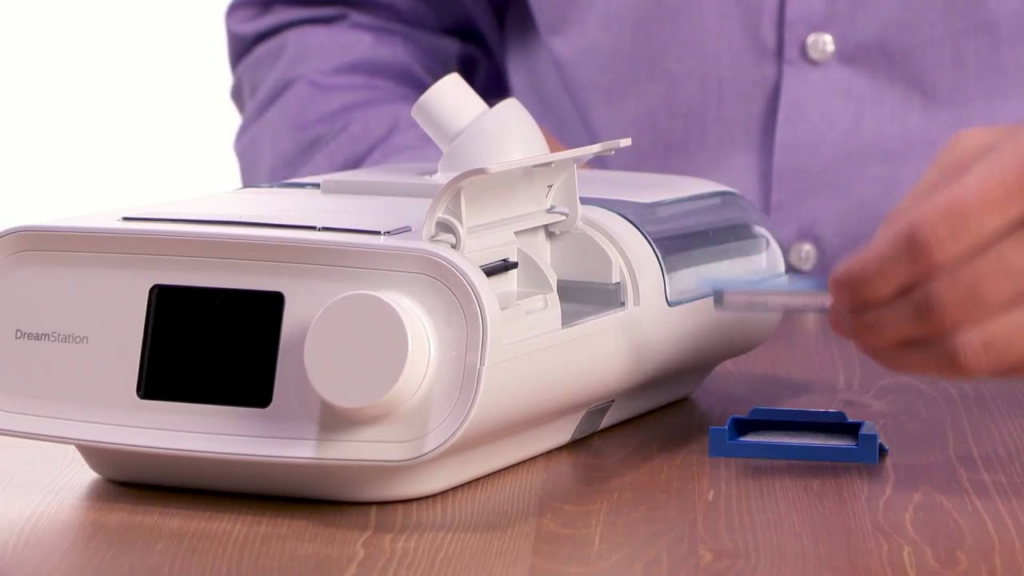
Humidifier Setup
Most individuals need a humidifier. Humidifiers supply moisture to CPAP therapy air, preventing dry noses and mouths. Some machines incorporate humidifiers, while others sell them separately. If you need one, include it in your new machine budget.
To use a humidifier, fill the water chamber (which should have a line etched on it) with distilled water. Use distilled water. Tap water leaves a thick coating in your water chamber that’s hard to clean. Some households have bad tap water. You’ll be breathing in the humidifier’s water, so it must be clean.
Cleaning your humidifier depends on the water you use. As previously indicated, tap water forms a chalky layer. Vinegar cuts through chalky residues better than soap and water while cleaning.
Using a humidifier makes therapy easier. You’re losing out if you’ve never used a humidifier with CPAP. Humidifiers add moisture to your treatment air, which helps reduce dryness from your sinuses or mouth. Pressurized air can leave you dry and parched without a humidifier. This is a typical CPAP frustration, but it’s easily addressed.
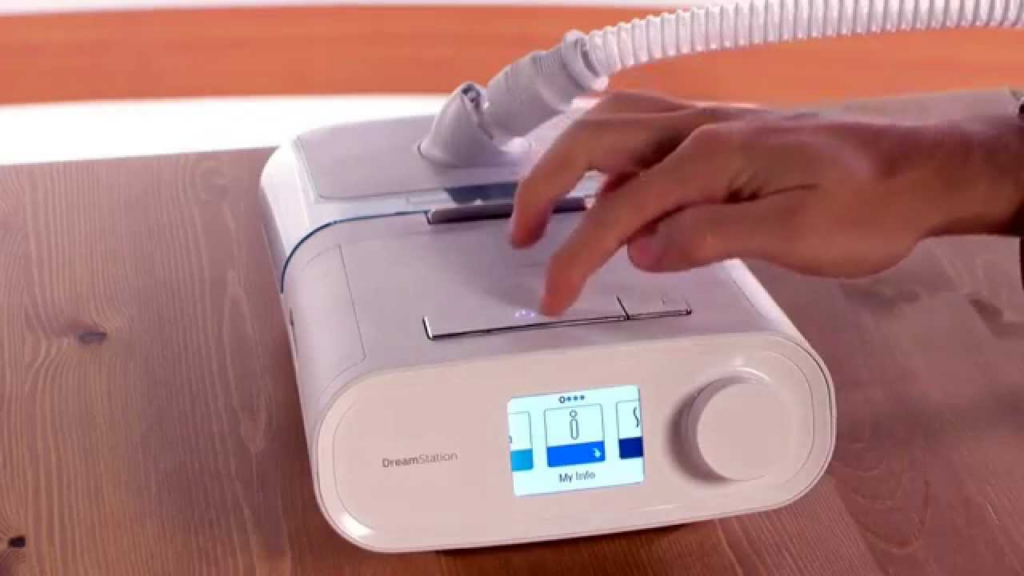
Turning on CPAP Device
Now you can use a CPAP. You’ve assembled everything, so begin CPAP therapy. Place your machine on a flat, sturdy platform near your bed, leaving the vents 12 inches from walls, bedding, or drapes. Choose a heavy-duty extension cord if needed.
After washing your face, insert and secure your CPAP mask. Turn on your CPAP when comfortable. As the pressure rises, relax and breathe evenly. If the pressure appears high, use the “ramp” feature. A “ramp” characteristic gradually increases the pressure from low to high.
Cleaning Up a CPAP Machine
After a while, it’s time to clean your CPAP machine. Some tips:
- Wipe the machine’s exterior to eliminate dust and grime.
- Rinse the hose with vinegar or mild soapy water.
- Before using, let the hose drip dry.
Most of the CPAP machine cleaning is done on the mask. Over time, the mask collects skin (facial) oils and mouth/nose deposits and must be cleansed and sterilised. Clean a mask using these steps:
- Remove the headpiece and cushion from the CPAP mask.
- Soak headpiece in soapy warm water. To avoid damaging the material, use fragrance- and color-free soap.
- After cleaning the headpiece, remove all soap residue.
- Dry headwear.
- Soap gentle, fragrance-free soap on the cushions. Remove cushion deposits.
- Drain
- Remove deposits from the frame.
- Assemble the mask when dry. The mask is ready.
More to read: Common CPAP Mistakes and How to Resolve Them